I love to take baths whenever I can, really, who doesn’t love the chance to relax. For years I’ve used just cheap bubbles in the tub but lately I have been changing things up and adding different oils as well. One thing I have wanted to try is a Lush Bath Bomb but unfortunately the closest LUSH store is over an hour away and I hate to pay for shipping.
Since I can’t get to a Lush store for some bath bombs, I figured why not make some of my own?
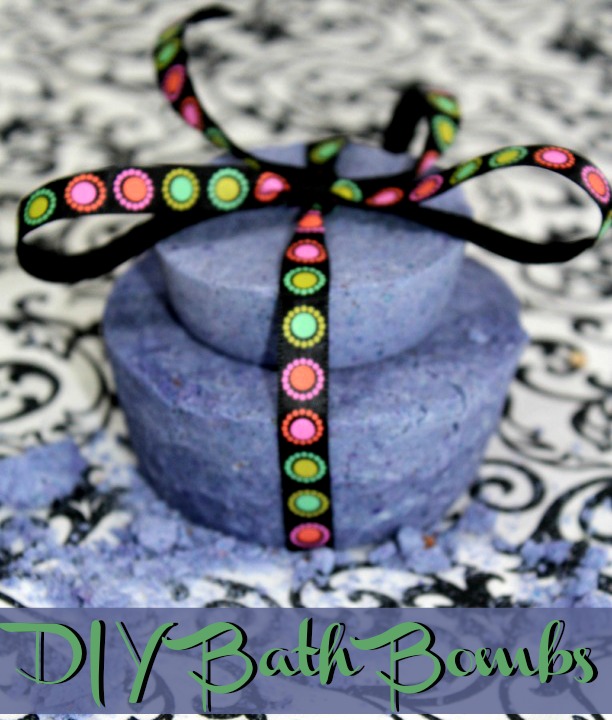
Using this great recipe below, you can create your own bath bombs in no time!
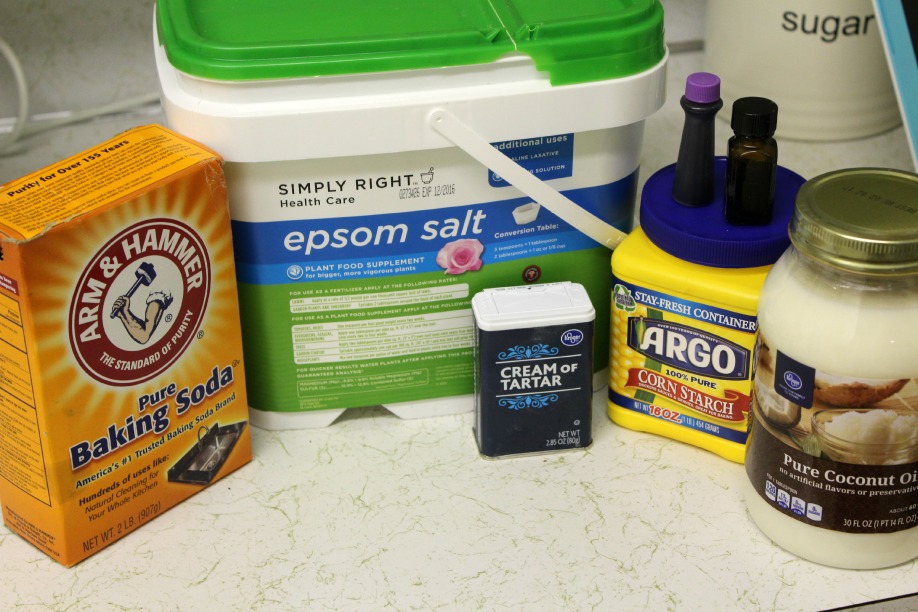
Ingredients:
8 ounces Baking Soda for your skin and the bath water
4 ounces Cream of Tartar
4 ounces Corn Starch
4 ounces Epsom Salts
3/4 tsp. Water
2 tsp. Essential Oil for scent ( Lavender )
2 tsp. Coconut Oil
Food coloring if you want colored bombs (Purple)
A decoration, like dried flowers, non-toxic glitter, or sugar cake decorations.
A small mini muffin pan
Procedure:
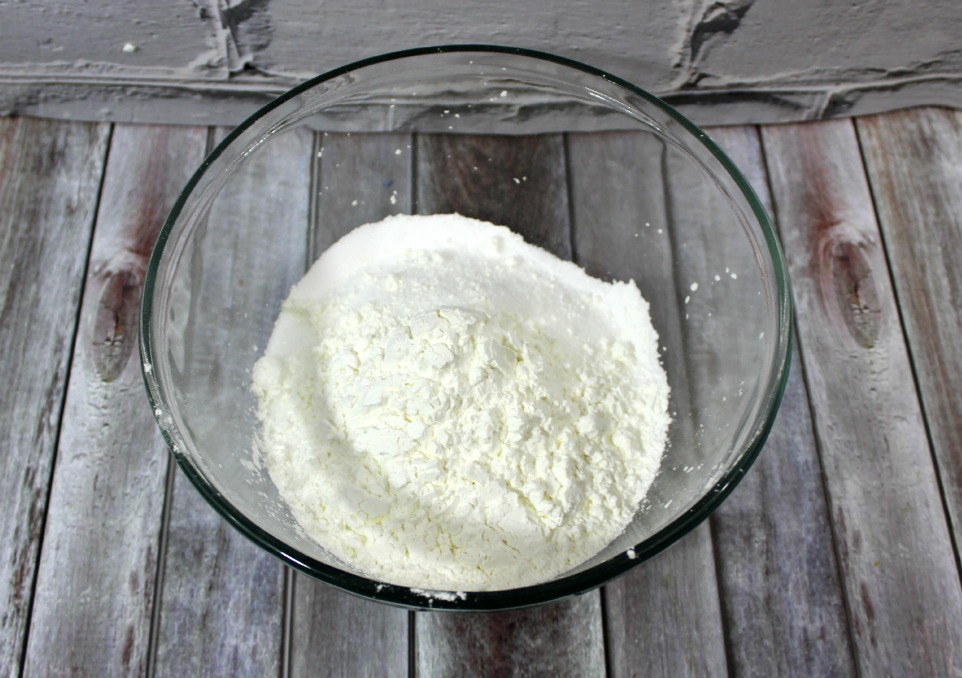
Mix all dry ingredients in a large mixing bowl (salt, baking soda, cornstarch and cream of tartar)
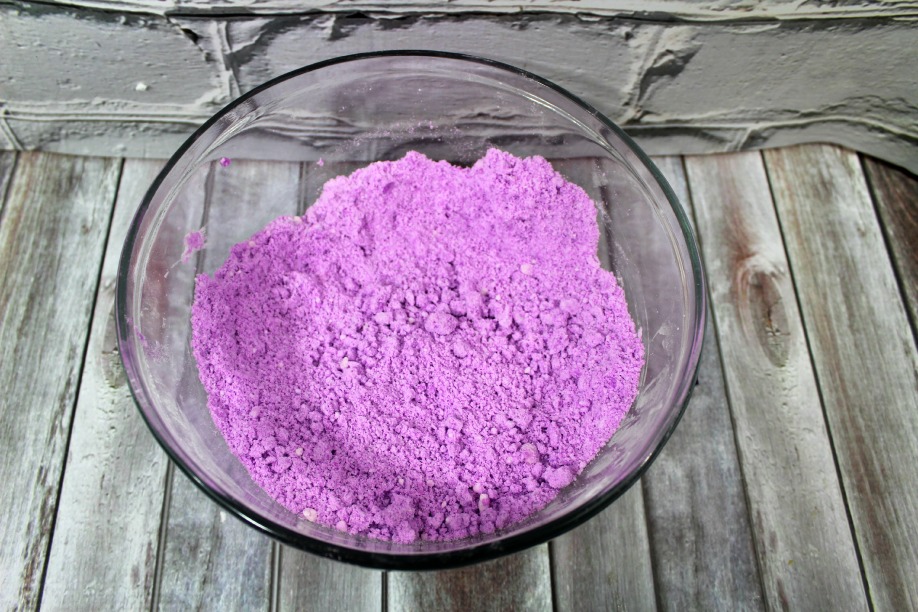
In a separate small bowl, mix water, oil, and food coloring
Now go ahead and mix wet and dry
At this point, your mixture should resemble wet sand. Adding the food coloring helps you figure out if it’s well-mixed, an even color means a good mix. When you squeeze some in your fist, it should hold together. If it doesn’t, add water a few drops at a time until desired consistency is reached.
Tightly pack it down into your mold
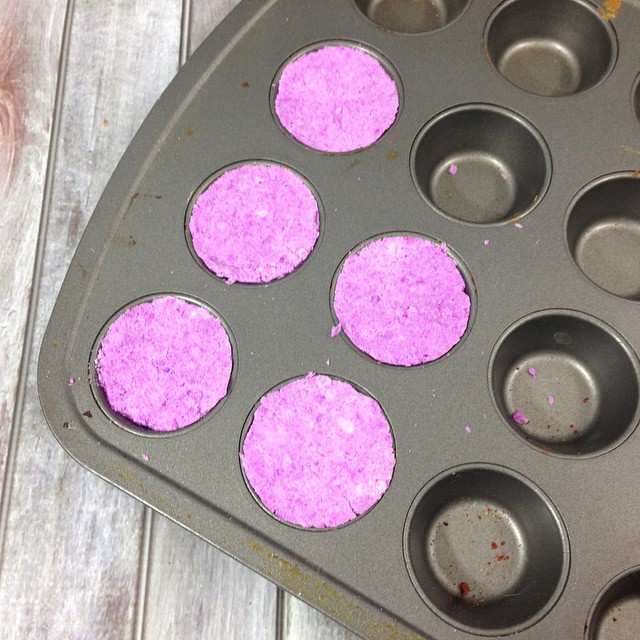
Let dry 24 hours
**I recommend not removing from the mold until the mixture is completely dry. However, depending on your mold shape, you may have success with early removal so you can reuse the molds more quickly. Cupcake and Flat shapes work great removing them from the mold early.**
Leave a Reply