Tag Archives: DIY

Be Prepared this Winter with this DIY Winter Roadside Emergency Kit

This time of year can be a very dangerous time for road travel, especially if you live in a state that gets a lot of snow and seriously hazardous road conditions.

With weather, you never know what to expect, so I find it best to always be prepared for anything. As the seasons change, I like to make sure we have whatever we may need with us, in case of an emergency. 

You can put together your own winter roadside emergency kit and ensure you are ready for anything this winter.

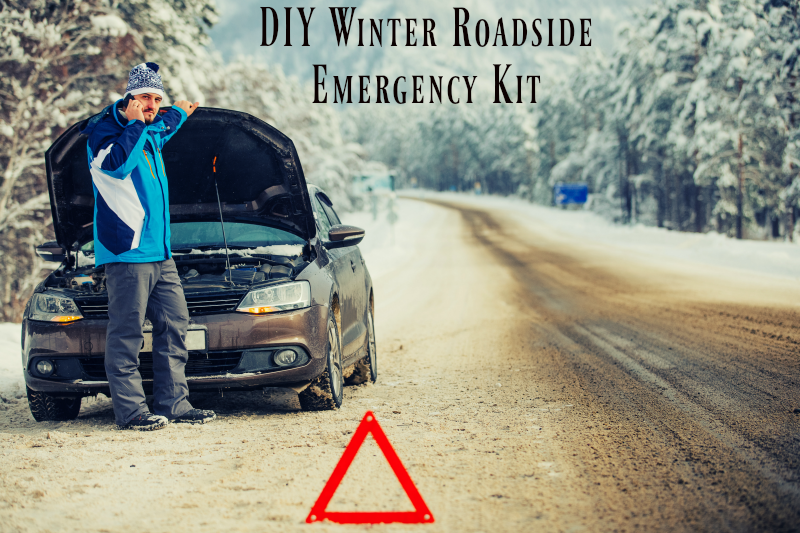
DIY Your Winter Roadside Emergency Kit

Grab a large backpack, duffel bag, or even a covered storage bin and add the following items to it to make sure you are always ready. In the winter, we keep a large storage bin in the back of our minivan whenever we travel more than 30 minutes from home or somewhere that we might not be able to find help immediately.

Here are the items you should have in your winter kit:

  • Blankets
  • Hand warmers
  • Extra gloves/mittens/hats
  • Non-perishable high calorie foods
  • Strike-Anywhere Matches
  • Bottled water
  • Roadside Flares
  • Small Shovel
  • Snow brush
  • Flashlight
  • Jumper Cables
  • Cat Litter (for traction)
  • Automotive cell phone charger
  • First Aid Kit

In addition to these items, it is also important to make sure your phone is fully charged before traveling as well as making sure your vehicle is in proper working order to travel in winter conditions. We recommend you have your vehicle inspected by a reputable mechanic like the ones at Performance Dodge RAM in Woodbury Serving Philadelphia, Cherry Hill, Mount Ephraim.


DIY Bath Bomb

I love to take baths whenever I can, really, who doesn’t love the chance to relax. For years I’ve used just cheap bubbles in the tub but lately I have been changing things up and adding different oils as well. One thing I have wanted to try is a Lush Bath Bomb but unfortunately the closest LUSH store is over an hour away and I hate to pay for shipping.  

Since I can’t get to a Lush store for some bath bombs, I figured why not make some of my own?

Using this great recipe below, you can create your own bath bombs in no time!

Ingredients:

8 ounces Baking Soda for your skin and the bath water
4 ounces Cream of Tartar
4 ounces Corn Starch
4 ounces Epsom Salts
3/4 tsp. Water
2 tsp. Essential Oil for scent ( Lavender )
2 tsp. Coconut Oil
Food coloring if you want colored bombs (Purple)

A decoration, like dried flowers, non-toxic glitter, or sugar cake decorations.

A small mini muffin pan

Procedure:

Mix all dry ingredients in a large mixing bowl (salt, baking soda, cornstarch and cream of tartar)

In a separate small bowl, mix water, oil, and food coloring

Now go ahead and mix wet and dry

At this point, your mixture should resemble wet sand. Adding the food coloring helps you figure out if it’s well-mixed, an even color means a good mix. When you squeeze some in your fist, it should hold together. If it doesn’t, add water a few drops at a time until desired consistency is reached.

Tightly pack it down into your mold

Let dry 24 hours

**I recommend not removing from the mold until the mixture is completely dry. However, depending on your mold shape, you may have success with early removal so you can reuse the molds more quickly. Cupcake and Flat shapes work great removing them from the mold early.**

Homemade Play dough

Alexander loves play dough and we tend to go thru A LOT of it since he likes to get real creative and mix colors when he is in creative mode. Because of his obsession with play dough I have learned that it is more cost effective to make our own play dough at home than it is to continuously buy it. Being a former day care teacher, I have a lot of awesome recipes for different things in this head of mine and the play dough recipe I use is wonderful.
All you need is:
1 cup flour
1/2 cup salt
2 tsp cream of tartar
1 cup water
1 tablespoon oil
Food coloring
Storage containers

Mix together the flour, salt and cream of tartar in a saucepan. Mix water, oil and food coloring together and gradually stir into dry ingredients. Cook over medium heat stirring until dough forms into a ball. Remove from heat and knead until smooth.

I personally like to make bigger batches, mix it up, separate it into large ziploc bags and then add the food coloring and let Alexander mix it together by squishing it around in the bag. It is another great sensory project before he even gets to play with the dough!

I also love that by mixing it in the bag you get a marbled result….I just think it looks really neat!

Enjoy!

Make Your Own CHUNKY Toddler Tie Dyed Crayons

We happen to go through A LOT of crayons in our house. I feel like I am constantly buying them. Over the years Zack & Libby were required to have crayons in their school supplies which always left us with baggies of crayon remnants at the end of the year. Now that Alexander is into coloring I have found that he performs better with the thick chunky crayons but these tend to be cost a bit more than your standard crayon so we decided to put our crayon remnants to good use and make our own chunky toddler tie dyed crayons.